Creating and connecting a Web Service User
To enable the Awtomic ShipCompliant integration, you must use credentials associated with a Web Service User in ShipCompliant. This guide walks you through creating a Web Service User if you don’t already have one.
Step 1: Open the Users Page in ShipCompliant
Log in to your ShipCompliant admin and navigate to:
Settings → Users
Step 2: Click “Add User”
Click the blue Add User button at the top of the Users page.
Step 3: Fill Out the User Details
In the popup form:
- First / Last Name: You can use any name here (e.g. “Webservice” and “User”)
- Password Requirements:
- 6–12 characters long
- Must include:
- An uppercase letter
- A lowercase letter
- A number
- Cannot include an ampersand (&)
- Wait for the “Strong Password” indicator to appear before saving
- Role Type: Select Web Service User
- Associated Partner: You can leave this field blank.
Step 4: Go to the Awtomic Integration Page in Shopify
In your Shopify admin:
-
Open the Awtomic app
-
Go to Settings → Integrations

-
Find the Sovos ShipCompliant card
-
Click Connect
Step 5: Enter Your Credentials
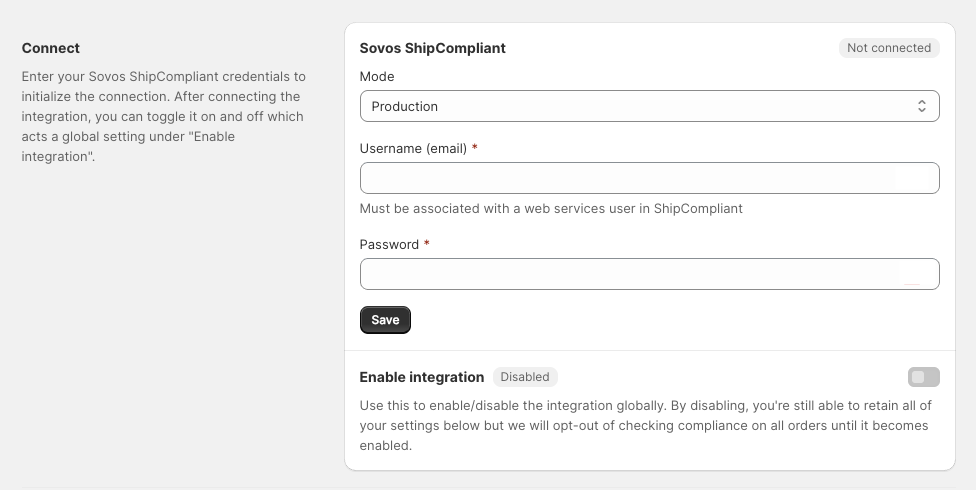
On the connection screen:
- Select Production mode
- Enter the email address and password for the Web Service User you just created
- Click Save
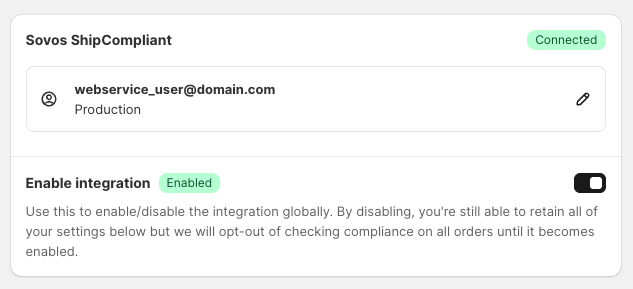
You should now see the Connected badge, and your integration is ready to go!
Updated 11 months ago
What’s Next
Did this page help you?