Gorgias Integration
Integrating Awtomic with Gorgias enhances your customer support by providing quick access to subscription details directly within Gorgias tickets. This integration allows support agents to view, modify, or navigate to subscription information without leaving the Gorgias platform, streamlining the support process and improving response times.
Key Features of the Awtomic x Gorgias Integration:
- Subscription Details in Gorgias Tickets: Access comprehensive subscription information directly within each Gorgias ticket, enabling agents to assist customers more effectively.
- Seamless Navigation: Quickly navigate to specific subscription details from Gorgias, reducing the need to switch between platforms and enhancing workflow efficiency.
How to set up the Gorgias Integration
Option 1 - From the Gorgias App directory

- Navigate to the Gorgias App Store
- Search for Awtomic Subscriptions
- Click the Connect app button
- You'll be taken to your Shopify admin within the Awtomic integration page with the form prefilled with your Gorgias domain
- Click Connect with this integration page
- Now you will be asked to authorize the app, so click on the blue Authorize button
- You're done! You will now have an Awtomic Subscriptions tile in Gorgias → Settings → App store → My Apps and an integration toggle in Gorgias → Settings → App store → HTTP integration page.
Option 2 - From Awtomic's Integration page
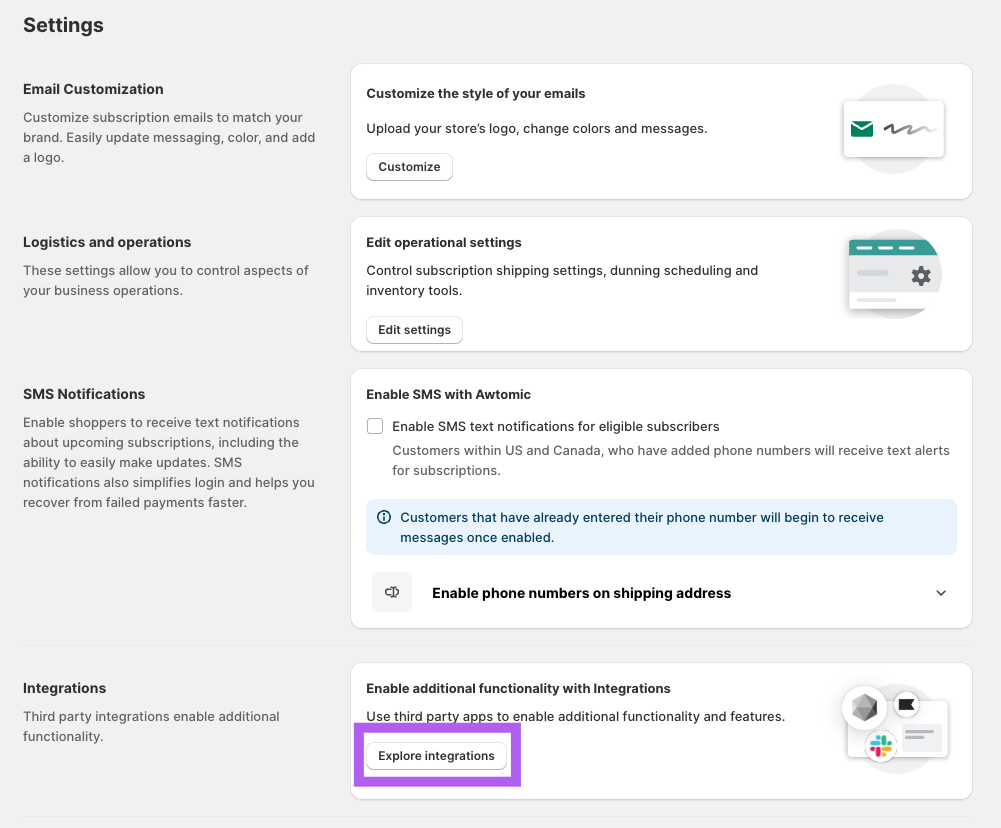
- Within the Awtomic app in the Shopify Admin, navigate to Settings using the button at the top right of the page
- Scroll down to the integration card and click Explore integrations.
- On the following page, titled 'Integrations', look for the Gorgias integration card and click Connect.
- Within the 'Gorgias connection' card, simply enter your Gorgias domain and click Connect.
- Now you will be asked to authorize the app, so click on the blue Authorize button
- You're all set! You should see the integration say "Connected". Additionally, you will now have an Awtomic Subscriptions tile in Gorgias → Settings → App store → My Apps as well as an integration toggle in Gorgias → Settings → App store → HTTP integration page.
Ticket setting (optional)
After connecting Gorgias with Awtomic, you can configure an optional setting within the Awtomic app in your Shopify admin to automatically generate Gorgias tickets whenever a subscription’s status changes.

To enable this feature, provide a Staff Email Address:
- Enter the email address of a staff member who has permission to create tickets in Gorgias.
- This is often your primary support email.
- The staff member should have at least a “Lite” role in Gorgias, which permits responding to direct messages but not liking or hiding comments. 
- Select Status Change Triggers:
- Choose to create tickets for all subscription status changes or specify particular statuses, such as ‘FAILED’, indicating the final retry of unsuccessful payment attempts.
How to test the integration?
After integrating Gorgias with Awtomic, most user actions performed in Awtomic—such as billing updates, status changes, or event rescheduling—will automatically refresh the Awtomic Widget within Gorgias. To observe this functionality, navigate to a Gorgias ticket and look at the right-hand panel. The Awtomic Widget should appear there, providing comprehensive subscriber and subscription information.
Awtomic widget
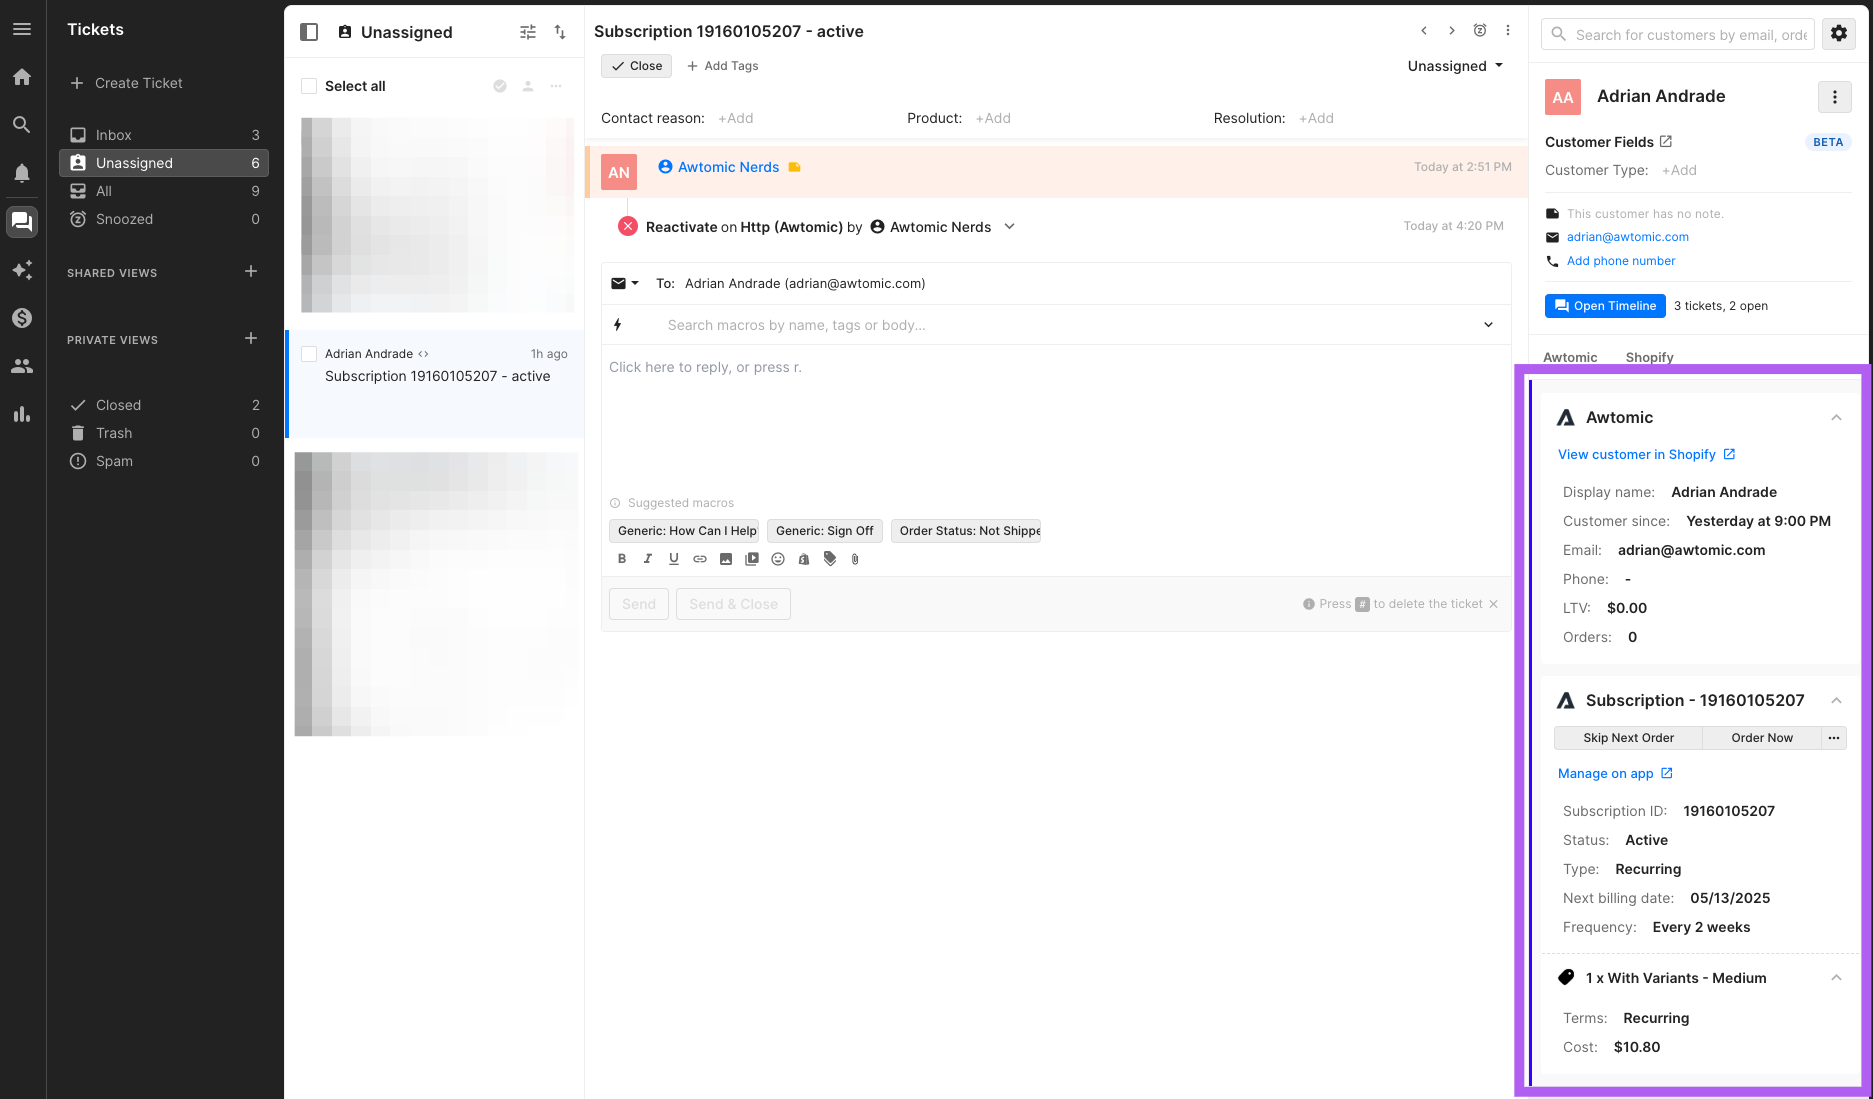
Subscriber info:
- View customer in Shopify - Lin - Link that navigates you to Shopify's customer view for the subscriber
- Display name - The name of the subscriber/customer
- Customer since - This shows the date when the customer first subscribed to the subscription
- Email - The customer's email address on file
- Phone - The phone number on file
- LTV - The total lifetime value (revenue) of the subscriber, including both subscription and one-time orders
- Orders - The total number of orders associated with the customer, including both subscription and one-time orders
Subscription information:
- Title / Subscription ID - The unique identification number associated with the subscription contract on Shopify and Awtomic
- Skip Next Order - Wit** - With this button, you can quickly skip the next order associated with the subscription without needing to navigate to the Awtomic app or Shopify
- Order now - Wit** - With this button, you can trigger a subscription order to be initiated immediately, ahead of the regularly scheduled billing date
- Cancel - Wit** - With this button, you can change the subscription's status to CANCELLED without needing to navigate to the Awtomic app or Shopify. This will prevent the future billing of the subscription.
- Pause - Wit** - With this button, you can change the subscription's status to PAUSED without needing to navigate to the Awtomic app or Shopify. This will prevent the future billing of the subscription.
- Reactivate - Wit** - With this button, you can change the subscription's status to ACTIVE without needing to navigate to the Awtomic app or Shopify. It may be necessary to navigate to the Awtomic app for further edits; however, because the next billing date will be scheduled for the following day.
- Subscription ID - The unique identification number associated with the subscription contract on Shopify and Awtomic
- Status - The subscription's status (Active, Paused, Cancelled, Failed, or Expired)
- Type - The subscription type (Recurring or Prepaid)
- Next billing date - The date when the subscriptino will bill next
- Frequency - The subscription's billing interval
- Product information - Each of the subscription's products is displayed with a quantity, product/variant name, terms, and cost.
Updated 11 months ago