Hubspot integration
Integrating Awtomic with Hubspot allows you to send transactional emails using templates designed in Hubspot in place of Awtomic's email service. Simply associate one of our triggers with an email ID from Hubspot.
How to set up the Hubspot Integration
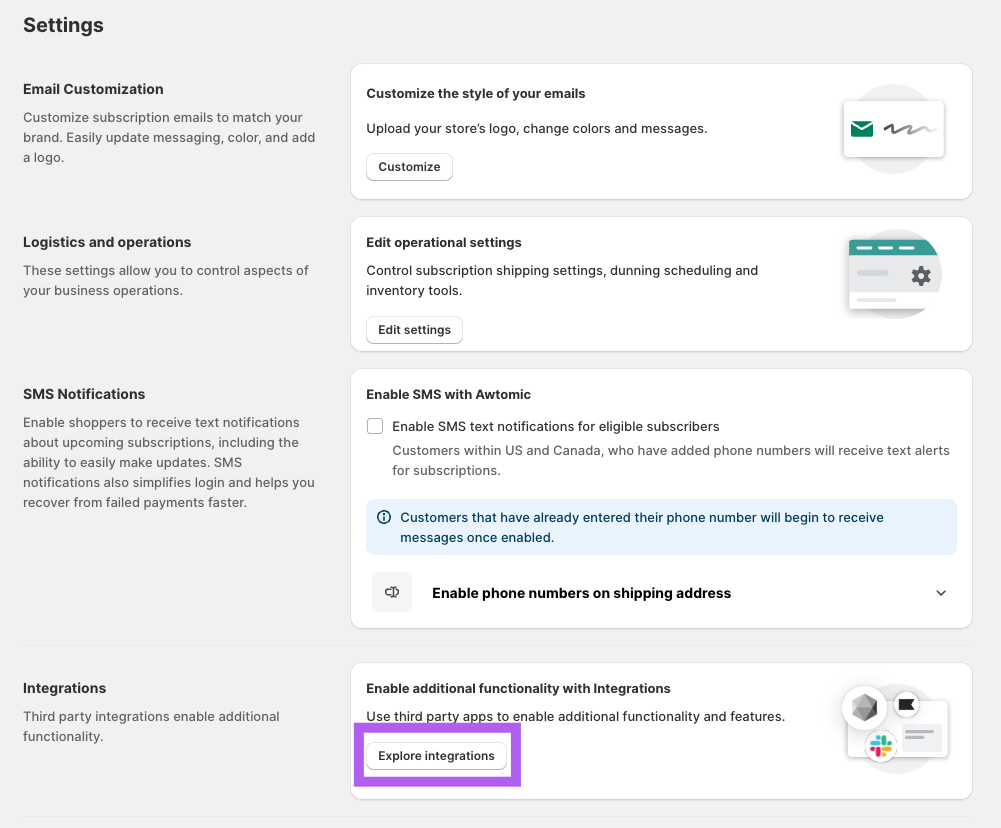
- Within the Awtomic app in the Shopify Admin, navigate to Settings using the button at the top right of the page
- Scroll down to the integration card and click Explore integrations.
- On the following page, titled 'Integrations', look for the Hubspot integration card and click Connect.
- Within the 'Hubspot connection' card, simply click the Connect button to trigger the integration authorization flow (on Hubspot).
- You will be taken to a page that lets you choose the account on Hubspot. Use the radio open to select the correct account, then click the orange Choose Account button to complete the selection.
- Lastly, you'll just need to confirm the connection on a page that states, "This app is requesting access to your HubSpot account. Continue connecting if you agree." Click Connect app to confirm.
- You're all set! You should see the integration say "Connected" within the Awtomic integrations page.
Using the Hubspot integration
Once connected, you should see the option to "Add new trigger" button. This allows you to select a trigger (action) that occurs in Awtomic that will send a message to Hubspot with a corresponding Email ID.
Select the appropriate trigger, such as "subscription order upcoming", then assign a Hubspot Email ID (which corresponds to a template). Whenever this event triggers in Awtomic, we will send the subscription and customer data to Hubspot.
Updated 11 months ago
Did this page help you?