Frequency Selector Radio Buttons
Swapping Plan Frequency Selector Dropdown for Radio Buttons
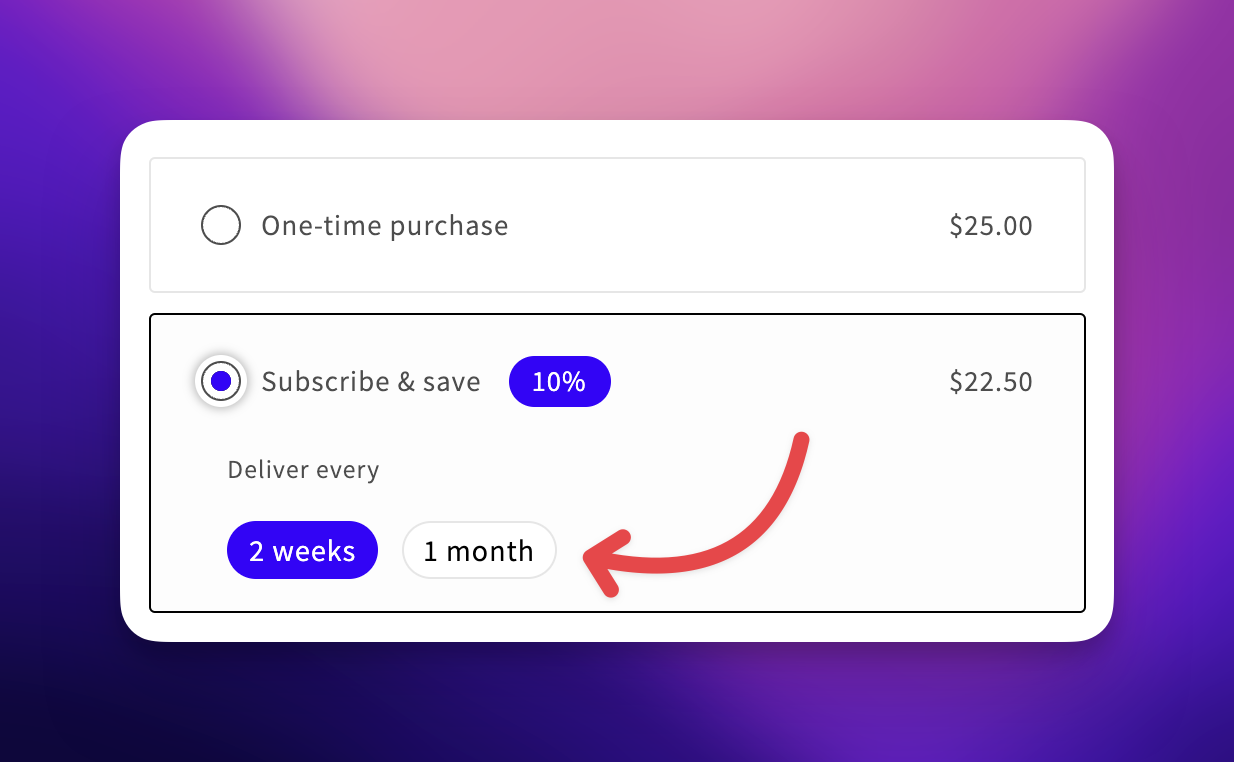
In this guide, we will walk you through the process of replacing the plan frequency selector dropdown with radio buttons in your Shopify store. This modification can offer a more streamlined and user-friendly experience for your customers. To achieve this, you will need to add a simple script tag to your Shopify store.
Before we begin, please make sure you have access to your Shopify admin dashboard and are comfortable with basic code modifications.
Step 1: Accessing Your Shopify Admin
- Log in to your Shopify admin dashboard using your credentials.
Step 2: Navigating to Your Theme Code Editor
-
From the left-hand sidebar, click on "Online Store."
-
In the "Online Store" section, select "Themes."
-
In the "Themes" section, find and click on the action menu next to your active theme and click "Edit Code".
Step 3: Modifying Your Theme's Code
-
In the code editor, locate and click on the "Sections" folder.
-
Within the "Layout" folder, you should find a file named "theme.liquid". Click on it to open the file.
-
Inside the "theme.liquid" file, paste the following script tag just before the closing body tag (
</body>):
<script>
window.bundleapp = window.bundleapp || {};
window.bundleapp.settings = Object.assign(
  {},
  window.bundleapp.settings || {},
  {
    useRadioButtonFrequencySelector: true,
  },
);
</script>- Save the changes to the "theme.liquid" file.
Step 4: Testing the Radio Button Frequency Selector
- Preview your Shopify store to see the updated plan frequency selector with radio buttons in action.
Remember to thoroughly test your store to ensure that the changes are working as expected. If you encounter any issues or have questions, don't hesitate to reach out to [email protected] for help.
Updated 10 months ago